How to enable Azure Network Watcher for your region
·509 words·3 mins·100 views·5 likes·
Azure CLI Azure Cloud Shell Azure PowerShell Connect-AzAccount Get-AzNetworkWatcher Get-AzSubscription Microsoft Microsoft Azure New-AzNetworkWatcher Remove-AzNetworkWatcher Select-AzSubscription Virtual networks
Today I want to talk to you about Azure Network Watcher, a handy tool to diagnose and repair the state of the IaaS network. Once this tool is enabled in our region, we can use various tools to check and repair the communication between the different resources of our virtual network, such as virtual machines, virtual networks, application gateways, load, etc. Network Watcher has two categories of tools:
Monitoring tools
Diagnostic tools
In this post, I want to show you how to enable or disable Network Watcher for an Azure region using PowerShell and Azure CLI.
Prerequisites
This tutorial assumes that you already have a Microsoft Azure account configured.
Important: When you create or update a virtual network in your subscription, Network Watcher will be enabled automatically in your Virtual Network’s region.
If you want to know how to install the PowerShell Azure module on your machine, check out this
link. The simplest way to get started is to sign in interactively at the command line.
Connect-AzAccount
This cmdlet will bring up a dialog box prompting you for your email address and password associated with your Azure account. If you have more than one subscription associated with your mail account, you can choose the default subscription. To perform this task, we will use the following commands:
In this case, we will use Azure Cloud Shell, a browser-based shell built into Azure Portal. This allows us to use the Azure command-line tools (Azure CLI and Azure PowerShell) directly from a browser. If you want to know more about Azure Cloud Shell, check out this
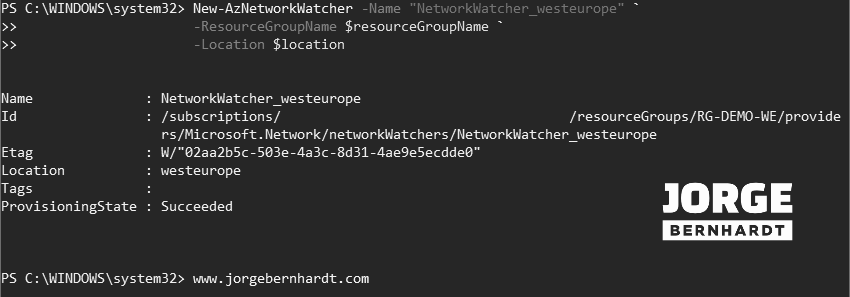
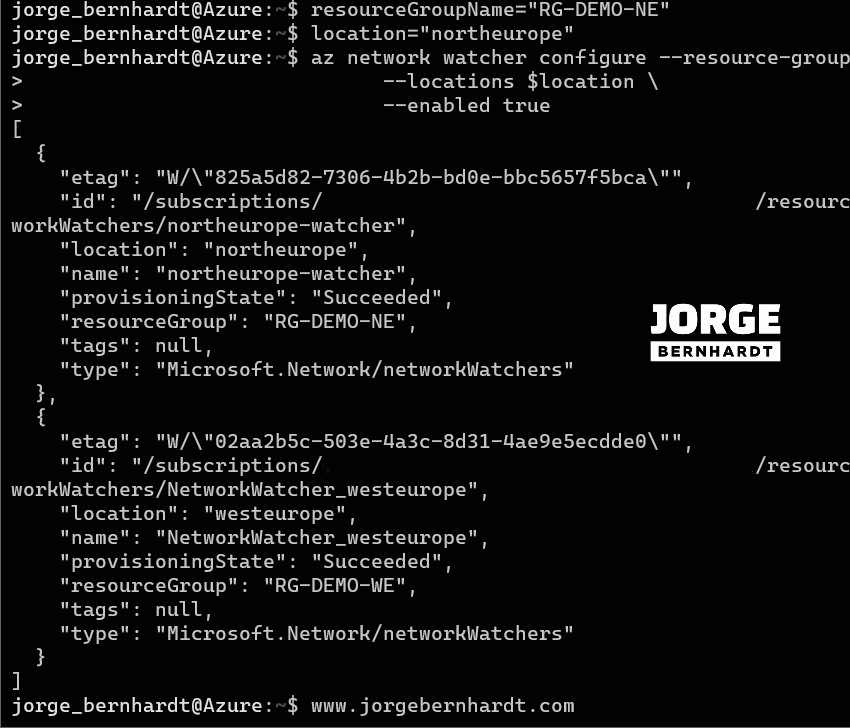
link. First, we define the characteristics of our environment and store the values in variables.