AZ Azure CLI Azure Cloud Shell Azure PowerShell Connect-AzAccount Get-AzStorageAccountKey Get-AzSubscription Microsoft Microsoft Azure New-AzStorageContext New-AzStorageShare Select-AzSubscription Azure Storage Account
Azure File Service offers managed file shares in the cloud accessible via the standard Server Message Block (SMB) protocol. This allows you to create one or more files shared in the cloud and use the share as a normal Windows file server. In this post, I want to show you how to create an Azure file share using PowerShell and the Azure CLI. Common use cases for the Azure file share are:
Replace or supplement local file servers.
Repository for the application logs.
Use Azure File Sync to Replicate data on-premises and the Azure File Service.
This tutorial assumes that you already have a Microsoft Azure account configured.
You created a Resource Group for these resources, and the new ones deployed in this tutorial will join that group. If you want to know how to create a Resource Group, check out this
link.
You can use an existing Storage Account, or you can create a new one. If you want to know how to create a Storage Account using PowerShell, check out this
link.
If you want to know how to install the PowerShell Azure module on your machine, check out this
link. The simplest way to get started is to sign in interactively at the command line.
Connect-AzAccount
This cmdlet will bring up a dialog box prompting you for your email address and password associated with your Azure account. If you have more than one subscription associated with your mail account, you can choose the default subscription. To perform this task, we will use the following commands:
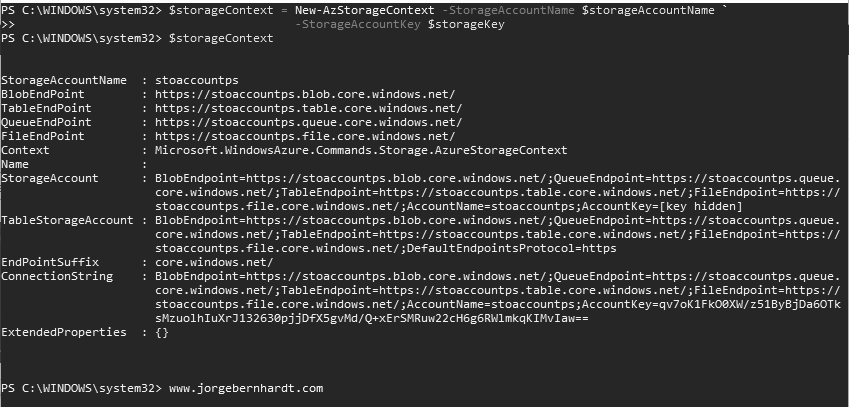
To create a share, you should first create an Azure Storage context object using the AzStorageContext cmdlet. This cmdlet requires the name of the storage key and the access key for the storage account.
In this case, we will use Azure Cloud Shell, a browser-based shell built into Azure Portal. This allows us to use the Azure command-line tools (Azure CLI and Azure PowerShell) directly from a browser. If you want to know more about Azure Cloud Shell, check out this
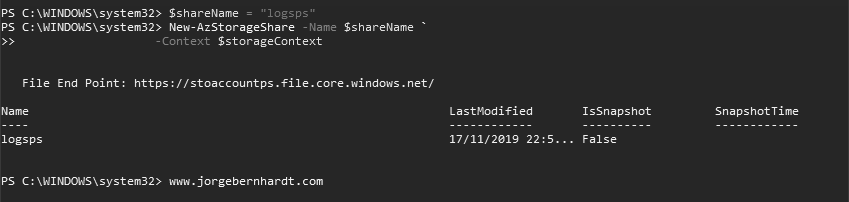
link. To create an Azure File Share using Azure CLI, you should first retrieve the connection string using the az show-connection-string command.