This post is part of a series in which I will show how to create different resources in Microsoft Azure. Today I will show you how to create an essential component: an Azure Load Balancer.
Azure Load Balancer allows you to scale your applications and create high availability for your services. Load Balancer can be used for inbound as well as outbound scenarios and provides low latency, high throughput, and scales up to millions of flows for all TCP and UDP applications.
This tutorial assumes that you already have a Microsoft Azure account set up. Important: Before deploying and testing your Load balancer, you must create network resources: virtual network and virtual NICs.
If you want to know how to install the PowerShell Azure module on your machine, check out this
link. The simplest way to get started is to sign in interactively at the command line.
Login-AzAccount
This cmdlet will bring up a dialog box prompting you for your email address and password associated with your Azure account. If you have more than one subscription associated with your mail account, you can choose the default subscription. To perform this task we will use the following commands:
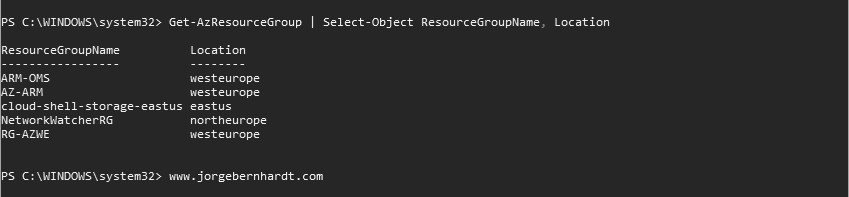
If you need to create a new resource group, check out this
link.
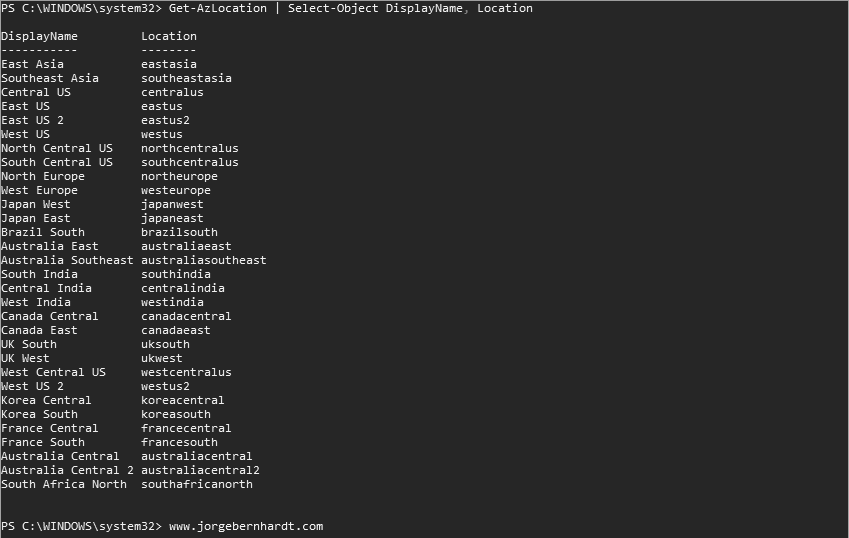
Location
With the following cmdlet in PowerShell, we obtain the list of existing locations in Azure.
Get-AzLocation`|Select-ObjectDisplayName,Location
Creates a front-end IP configuration for a load balancer>
Creates a front-end IP configuration for a load balancer
#
Since we are going to create a public load balancer, we will need to have a public IP. The following command creates a new public IP address resource, which we will use in the load balancer. In the case of an internal load balancer, this step is not necessary.
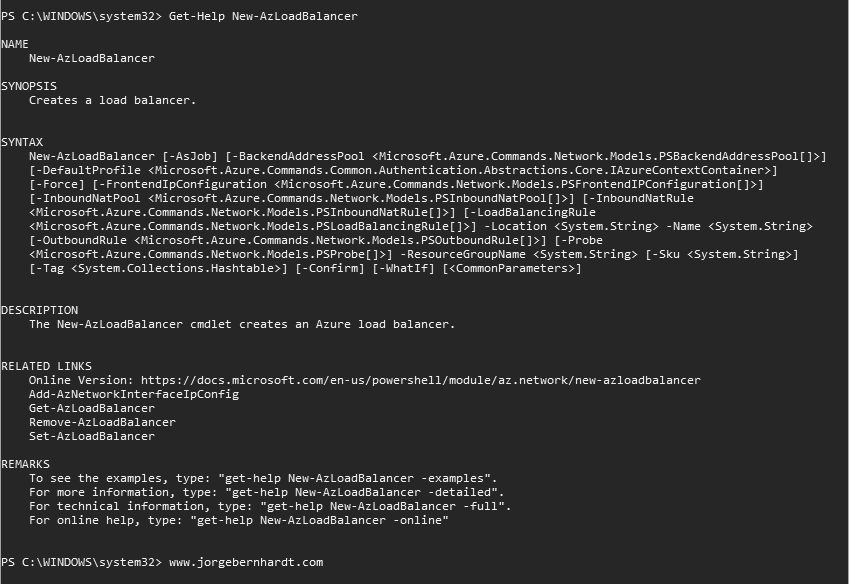
Once all necessary configurations have been established, you are ready to create a Load Balancer with the New-AzLoadBalancer cmdlet. To create a Virtual Network with PowerShell, use the New-AzLoadBalancer cmdlet with the following syntax:
We already have a load balancer, it only remains to associate the load balancer with an availability set, a virtual machine or a Virtual machine scale set.
Thanks for reading my post. I hope you find it useful.
If you want to know more about Load Balancer, check out this
link.