How to Host a Static Website Directly on an Azure Storage Account
Today, in this post, I want to show you how to use Azure PowerShell to create a static website in Azure Storage GPv2 accounts. This interesting functionality allows us to publish a static website without any additional cost, only the storage used. This tutorial assumes that you already have a Microsoft Azure account set up.
Important: This feature is available only for Azure Storage GPv2 accounts.
Azure PowerShell Workaround #
If you want to know how to install the PowerShell Azure module on your machine, check out this link. The simplest way to get started is to sign in interactively at the command line.
Connect-AzAccount
This cmdlet will bring up a dialog box prompting you for your email address and password associated with your Azure account. If you have more than one subscription associated with your mail account, you can choose the default subscription. To perform this task we will use the following commands:
Get-AzSubscription
Select-AzSubscription -Subscription "My Subscription"
Once you set your default subscription, you’re ready to start.
Set the variables #
Here, we define the characteristics of our environment.
#Resource Group
$resourceGroupName = "RG-AZWE"
$location = "westeurope"
#Storage Account
$storageAccountName = "storagedemov2"
$skuName = "Standard_LRS"
$kind = "StorageV2"
#Website
$index = "index.html"
$error404 = "Error.html"
$webLocalPath = "C:\wwwroot"
Resource Group #
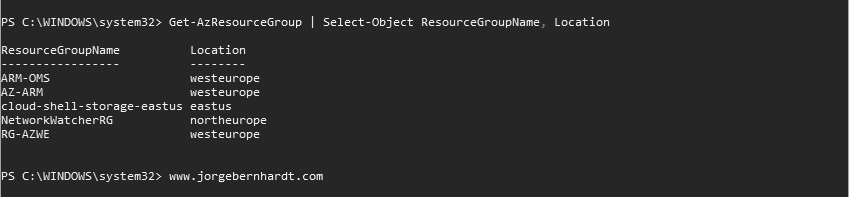
With the following command in PowerShell, we obtain the list of existing resource groups in your subscription.
Get-AzResourceGroup `
    | Select-Object ResourceGroupName, Location
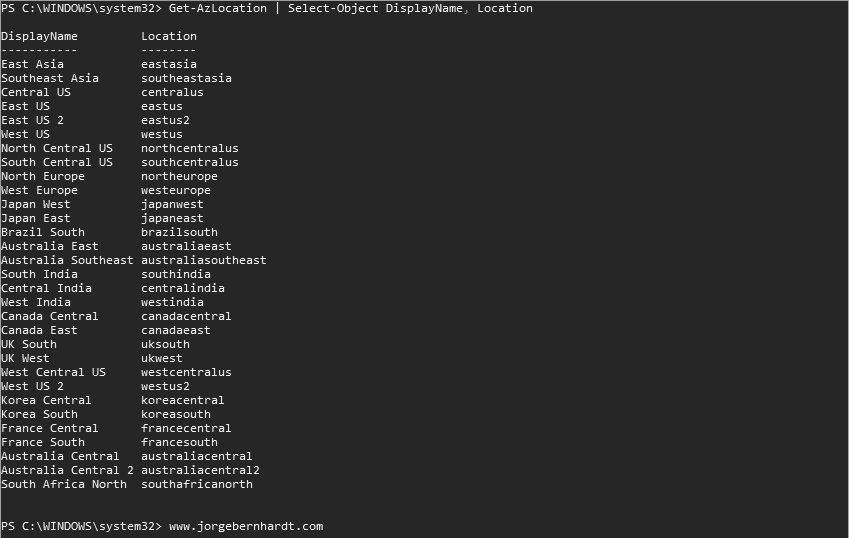
Get-AzLocation `
    | Select-Object DisplayName, Location
Storage Account #
To create a Storage Account with PowerShell, use the New-AzStorageAccount cmdlet with the following syntax:
$storageAccount = New-AzStorageAccount `
    -ResourceGroupName $resourceGroupName `
    -Name $storageAccountName `
    -Location $location `
    -SkuName $skuName `
    -Kind $kind
Enable the static website feature #
Once the GPv2 storage account is created, you can enable the static website character using the Enable-AzStorageStaticWebsite cmdlet with the following syntax:
Enable-AzStorageStaticWebsite `
    -Context $storageAccount.Context `
    -IndexDocument $index `
    -ErrorDocument404Path $error404
The file indicated in the -ErrorDocument404Path parameter will be displayed when a browser requests a page that does not exist.

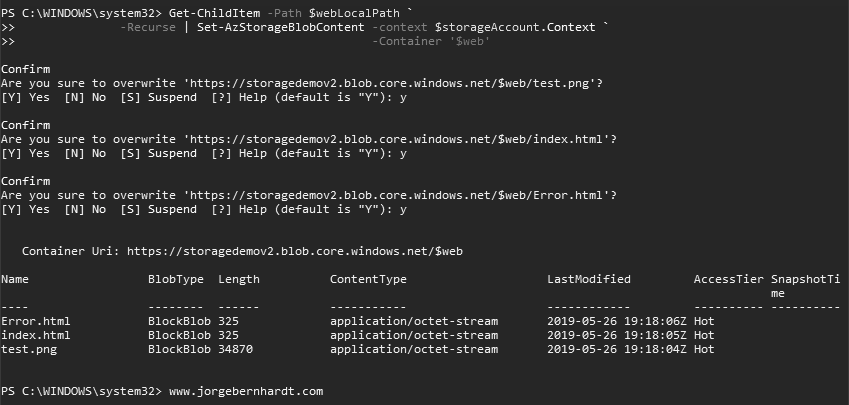
Upload the website files to the blob storage container #
Upload your web files to the $web container using the following commands:
Get-ChildItem `
    -Path $webLocalPath `
    -Recurse `
    | Set-AzStorageBlobContent `
    -context $storageAccount.Context `
    -Container '$web'
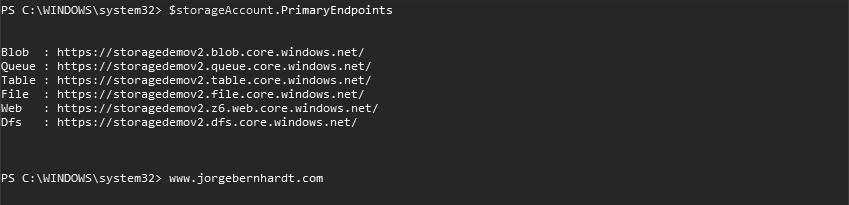
Access to the Static Website #
With the following command, you can see the primary endpoints of your storage account. in this case, you should use the “Web” endpoint.
$storageAccount.PrimaryEndpoints
Finally, Open the Storage static website endpoint URL in a web browser to view the Website.
Thanks for reading my post. I hope you find it useful.
To make your static website files available over your custom domain and HTTPS, check out this link.