How to Managing Non-Domain joined Server using Server Manager
Today I want to show you how to manage non-domain joined servers or Workgroup servers using Server Manager. This can be very useful when working with multiple domains and managing all from the same computer. The Process consists of two tasks, let’s start.
Provide administrative credentials for the server not joined to the domain #
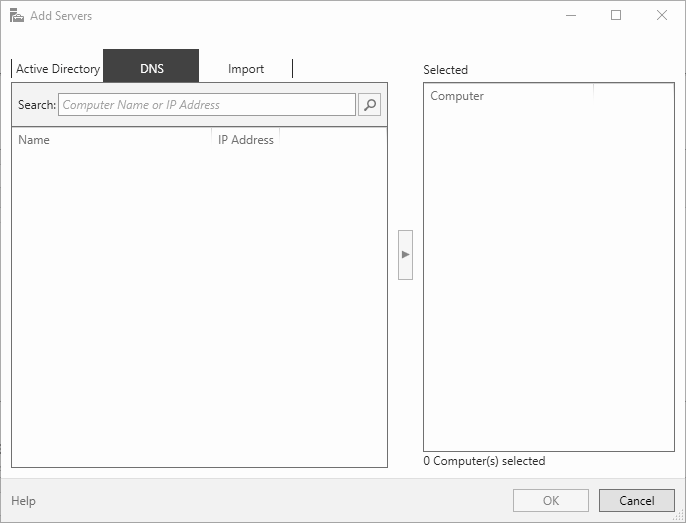
To add a non-domain joined the server or a Workgroup server to Server Manager, you must use DNS or Import option in the Add Servers Wizard.
Add the non-domain joined server to the TrustedHosts list on the computer running Server Manager. #
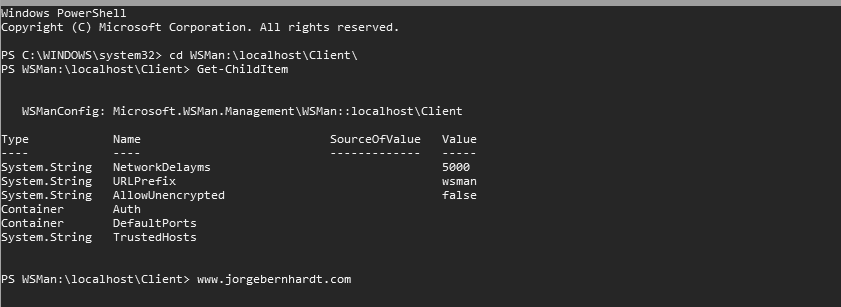
Domain membership automatically establishes a trust relationship between the computers in the domain. To manage computers that aren’t in the same domain or are in a workgroup, you must establish that trust yourself by adding the computers you want to manage to the TrustedHosts list on the computer running Server Manager. The TrustedHosts list is located on a logical drive called WSMan:
cd WSMan:\localhost\Client\
Get-ChildItem
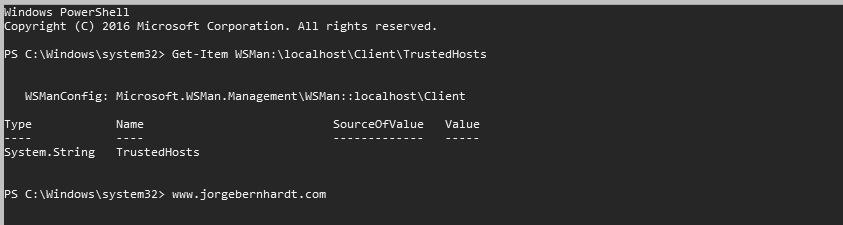
Get-Item `
    -Path WSMan:\localhost\Client\TrustedHosts
Set-Item `
    -Path WSMan:\localhost\Client\TrustedHosts `
    -Value <ComputerName>
The -value parameter accepts different formats. Here I show you some possible options:
##### Add specific computers to the TrustedHosts list #####
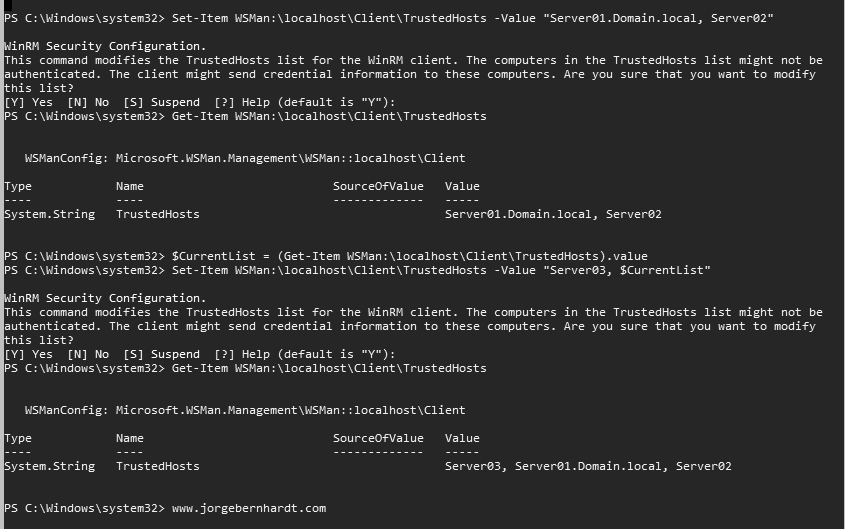
Set-Item `
-Path WSMan:\localhost\Client\TrustedHosts `
-Value "Server01.Domain.local, Server02"
##### Add specific IP address to the TrustedHosts list #####
Set-Item `
-Path WSMan:\localhost\Client\TrustedHosts `
-Value 192.168.1.200
##### Add all domain computers to the TrustedHosts list #####
Set-Item `
-Path WSMan:\localhost\Client\TrustedHosts *.Domain.local
The TrustedHosts list only saves the last set value. This is because the TrustedHosts list is updated using the Set-Item command that you have executed by overwriting the previous entries. if you want to add a computer, without deleting the previous entries, you must use the following method.
$CurrentList = (Get-Item WSMan:\localhost\Client\TrustedHosts).value

Set-Item `
    -Path WSMan:\localhost\Client\TrustedHosts `
    -Value "Server03.Domain.local, $CurrentList"
Thanks for reading my post. I hope you find it useful.
If you want to know more about WSMan Provider, check out this link.