How to share a Printer with PowerShell
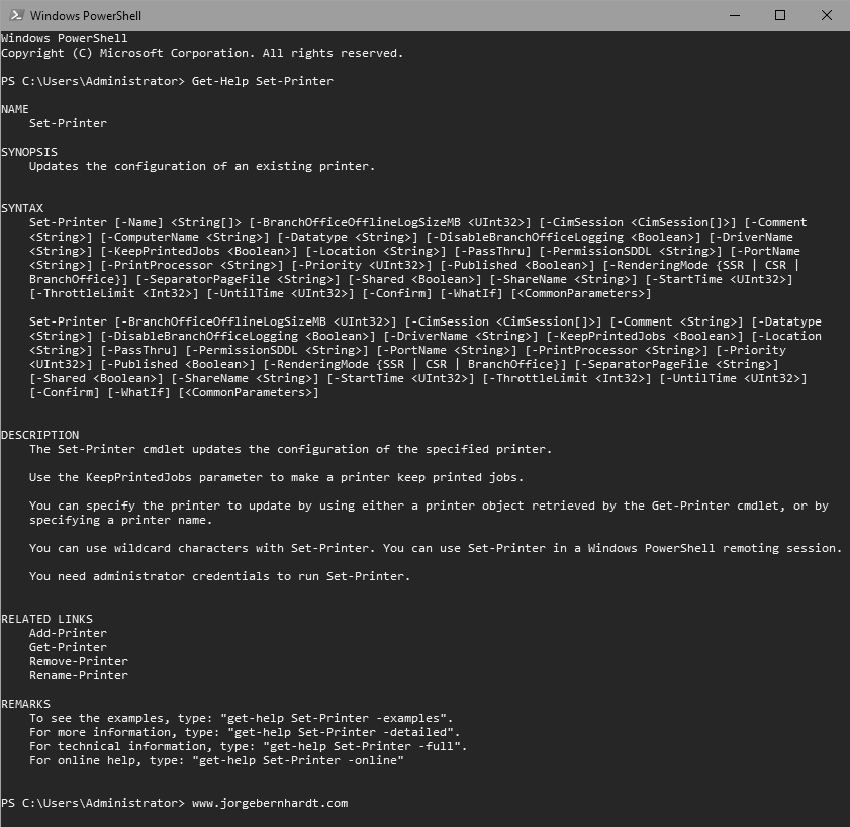
Hi, today I want to show you how to share a printer using PowerShell. The cmdlet I will use is Set-Printer. This cmdlet allows to establish or update the configuration of a specified printer.
Set-Printer `
    -Name "printer name" `
    -Shared $True|$False `
    -ShareName "share name"
The workaround in a local computer #
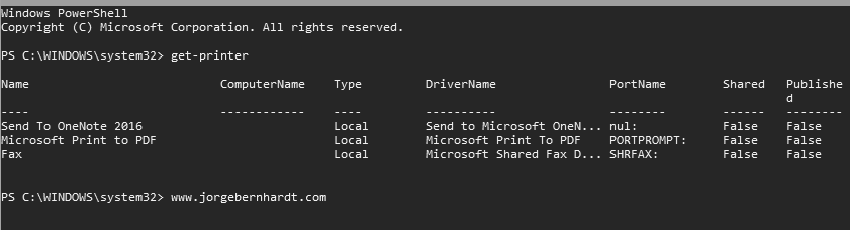
With the Get-Printer cmdlet, we obtain the list of installed printers and their basic properties. The “Shared” column shows us if the printer is already shared.

The workaround in a remote computer #
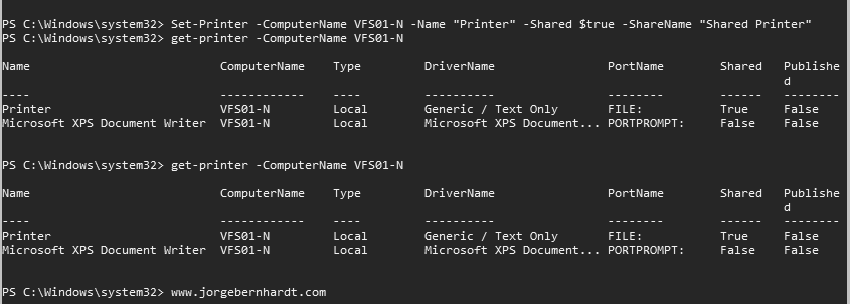
To share the printer from a remote server, use the -ComputerName parameter to specify the name or IP of the remote computer. The syntax is the following:
Set-Printer `
    -ComputerName "Remote Computer" `
    -Name "printer name" `
    -Shared $True|$False `
    -ShareName "share name"
Thanks for reading my post. I hope you find it useful.
If you want to know more about the Set-Printer cmdlet, check out this link: https://docs.microsoft.com/en-us/powershell/module/printmanagement/set-printer?view=win10-ps