Azure Storage: Managing containers and blobs
Hello everyone, in this post, I want to show you the Azure PowerShell commands that I have been collecting to manage containers and blobs in the Azure Storage service.
Prerequisites
- This tutorial assumes that you already have a Microsoft Azure account configured.
- You created a Resource Group for these resources, and the new ones deployed in this tutorial will join that group. If you want to know how to create a Resource Group, check out this link.
- You can use an existing Storage Account, or you can create a new one. If you want to know how to create a Storage Account using PowerShell, check out this link.
Azure PowerShell Workaround #
If you want to know how to install the PowerShell Azure module on your machine, check out this link. The simplest way to get started is to sign in interactively at the command line.
Connect-AzAccount
This cmdlet will bring up a dialog box prompting you for your email address and password associated with your Azure account. If you have more than one subscription associated with your mail account, you can choose the default subscription. To perform this task, we will use the following commands:
Get-AzSubscription
Select-AzSubscription -Subscription "My Subscription"
Once you set your default subscription, you’re ready to start.
Set the variables #
Here, we define the characteristics of our environment and the resource’s properties.
$resourceGroupName = "RG-DEMO-NE"
$storageAccountName = "stoaccountps"

$storageKey = (Get-AzStorageAccountKey -ResourceGroupName $resourceGroupName -Name $storageAccountName).Value[0]

$storageContext = New-AzStorageContext `
    -StorageAccountName $storageAccountName `
    -StorageAccountKey $storageKey
$containerName = "containerps"
Create an Azure Storage container #
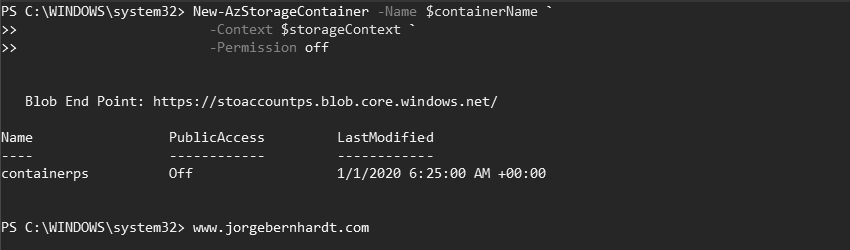
A container organizes a set of blobs, similar to a directory in a file system. A storage account can contain an unlimited number of containers, and a container can store an unlimited number of blobs. Important: The container name must be lowercase. To create a container with the Azure PowerShell cmdlet, use the New-AzStorageContainer cmdlet, as shown below:
New-AzStorageContainer `
    -Name $containerName `
    -Context $storageContext `
    -Permission off
List Azure Storage containers #
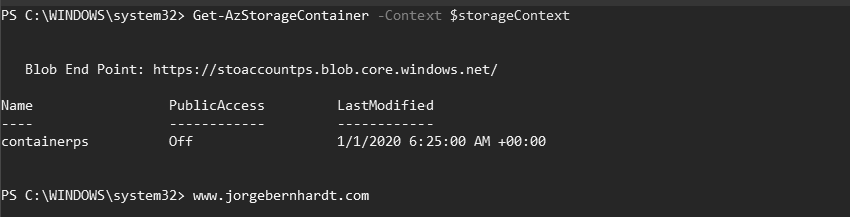
if you want to list all the containers within your storage account, use the following command:
Get-AzStorageContainer -Context $storageContext
Remove an Azure Storage container #
If you made a mistake when setting the name or simply want to remove the container, use the Remove-AzStorageContainer cmdlet as shown below.
Remove-AzStorageContainer `
    -Name $containerName `
    -Context $storageContext
Create an Azure Storage blob #
When uploading a file to the container, the storage service creates a blob, and this blob can be created of three types: block blobs, append blobs, and page blobs. If nothing is specified in the -BlobType parameter, it will be created of the block type by default. Important: Once the blob has been created, its type cannot be changed.
Uploads a local file to an Azure Storage blob #
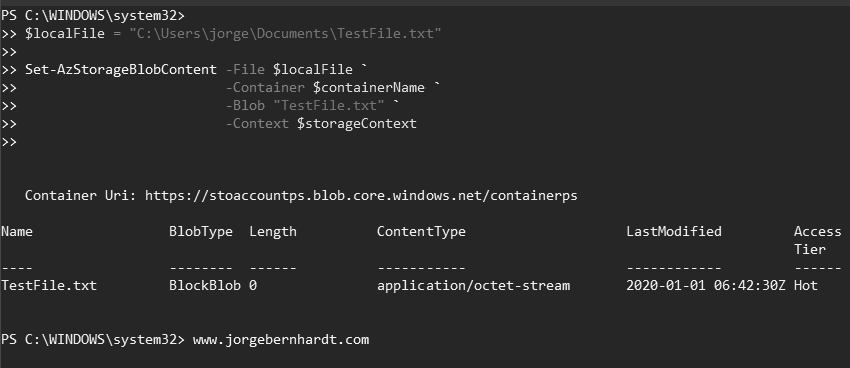
You can use Azure PowerShell to load a file into the container, using the Set-AzStorageBlobContent cmdlet as shown below:
$localFile = "C:\Users\jorge\Documents\TestFile.txt"

Set-AzStorageBlobContent `
    -File $localFile `
    -Container $containerName `
    -Blob "TestFile.txt" `
    -Context $storageContext
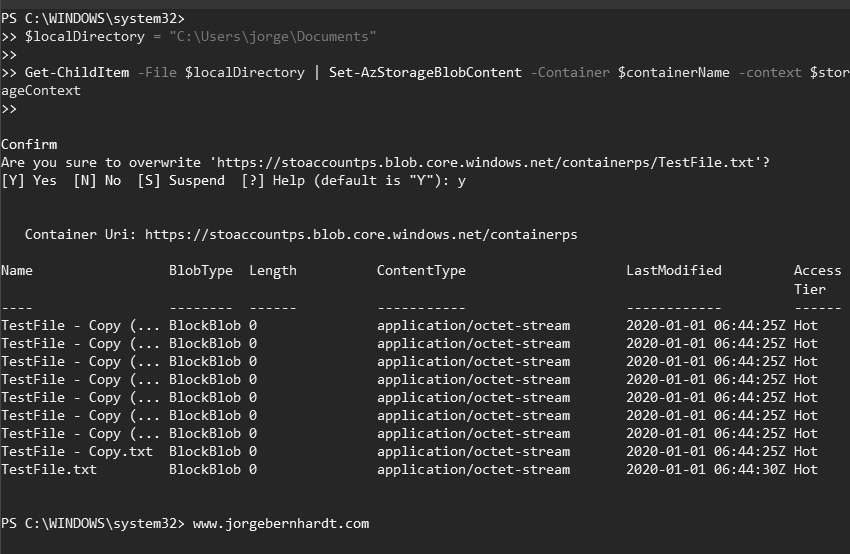
$localDirectory = "C:\Users\jorge\Documents"

Get-ChildItem `
    -File $localDirectory `
    | Set-AzStorageBlobContent `
    -Container $containerName `
    -context $storageContext
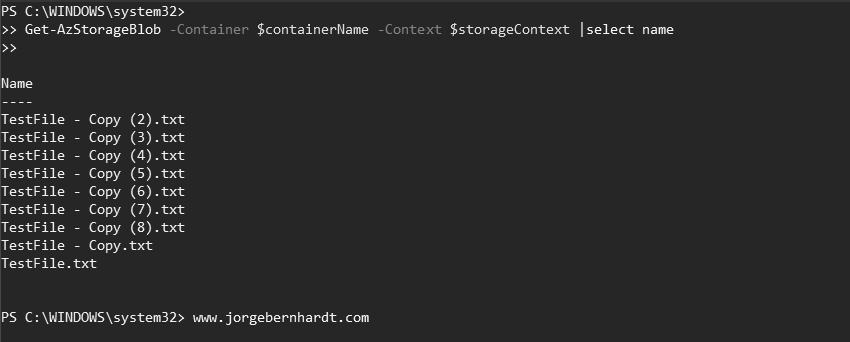
List Azure Storage blobs #
If you want to list all blobs within a specific container, use the following command:
Get-AzStorageBlob `
    -Container $containerName `
    -Context $storageContext `
    |select name
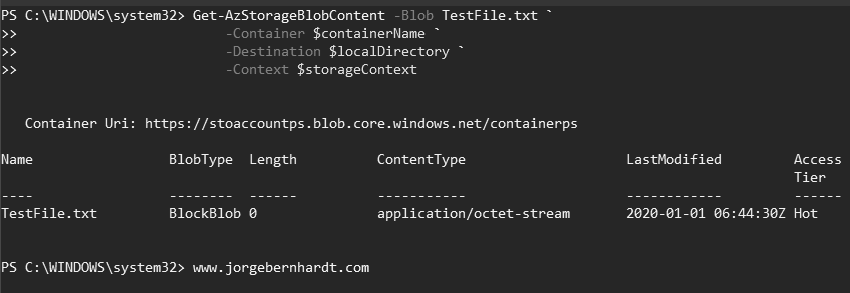
Downloads an Azure Storage blob #
The Get-AzStorageBlobContent cmdlet downloads the specified storage blob to the local computer.
Get-AzStorageBlobContent `
    -Blob TestFile.txt `
    -Container $containerName `
    -Destination $localDirectory `
    -Context $storageContext
Get-AzStorageBlob `
    -Container $containerName `
    -Context $storageContext `
    | Get-AzStorageBlobContent `
    -Destination $localDirectory
Remove an Azure Storage blob #
To remove a particular blob from a container, use the Remove-AzStorageBlob cmdlet as shown below.
Remove-AzStorageBlob `
    -Blob TestFile.txt `
    -Container $containerName `
    -Context $storageContext

Get-AzStorageBlob `
    -Container $containerName `
    -Context $storageContext `
    | Remove-AzStorageBlob
Thanks for reading my post. I hope you find it useful. If you want to know more about Azure Storage, check out this link.