Azure Web Apps Deployments
In this post, I want to show you how to create the infrastructure to host a web application. To do this, you will need to at least create two resources: a web application and an App Service plan. The web application is the resource for which an application runs. The Application Service Plan is the resource that defines the location, size, capacity, and features for which the web application will run.
Prerequisites #
- This tutorial assumes that you already have a Microsoft Azure account configured.
- You created a Resource Group for these resources and the new ones deployed in this tutorial will join that group. If you want to know how to create a Resource Group, check out this link.
Azure PowerShell Workaround #
If you want to know how to install the PowerShell Azure module on your machine, check out this link. The simplest way to get started is to sign in interactively at the command line.
Connect-AzAccount
This cmdlet will bring up a dialog box prompting you for your email address and password associated with your Azure account. If you have more than one subscription associated with your mail account, you can choose the default subscription. To perform this task, we will use the following commands:
Get-AzSubscription
Select-AzSubscription -Subscription "My Subscription"
Once you set your default subscription, you’re ready to start.
Set the variables #
Here, we define the characteristics of our environment and the resource’s properties.
$resourceGroupName = "RG-DEMO-NE"
$location = "North Europe"
Create an Application Service Plan #
To deploy Web Apps in Azure, you must first have an Apps Service. To create one, you should use the New-AzAppServicePlan cmdlet with the following syntax.
$appSP= New-AzAppServicePlan `
    -Name "SP-DEMO-PS" `
    -Location $location `
    -ResourceGroupName $resourceGroupName `
    -Tier PremiumV2
The -Tier parameter allows the following values: Free, Basic, Shared, Standard, Premium, PremiumV2, PremiumContainer, and Isolated.
Create a Web Application #
Once you have an Apps Service, you are ready to create a Web App, for this you should use the New-AzWebApp cmdlet with the following syntax.
$webApp = New-AzWebApp `
    -Name "wApp-DEMO-PS" `
    -AppServicePlan $appSP.Name `
    -ResourceGroupName $resourceGroupName `
    -Location $location
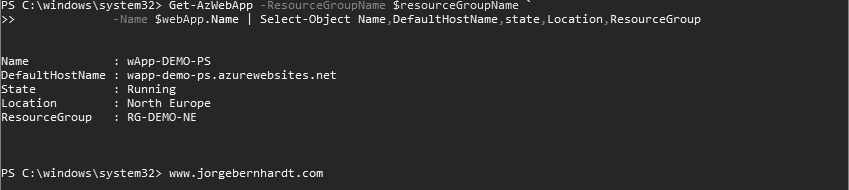
At the end of the creation process, you can use the following command to obtain the most relevant data of the Web App created.
Get-AzWebApp `
    -ResourceGroupName $resourceGroupName `
    -Name $webApp.Name `
    | Select-Object Name,DefaultHostName,state,Location,ResourceGroup
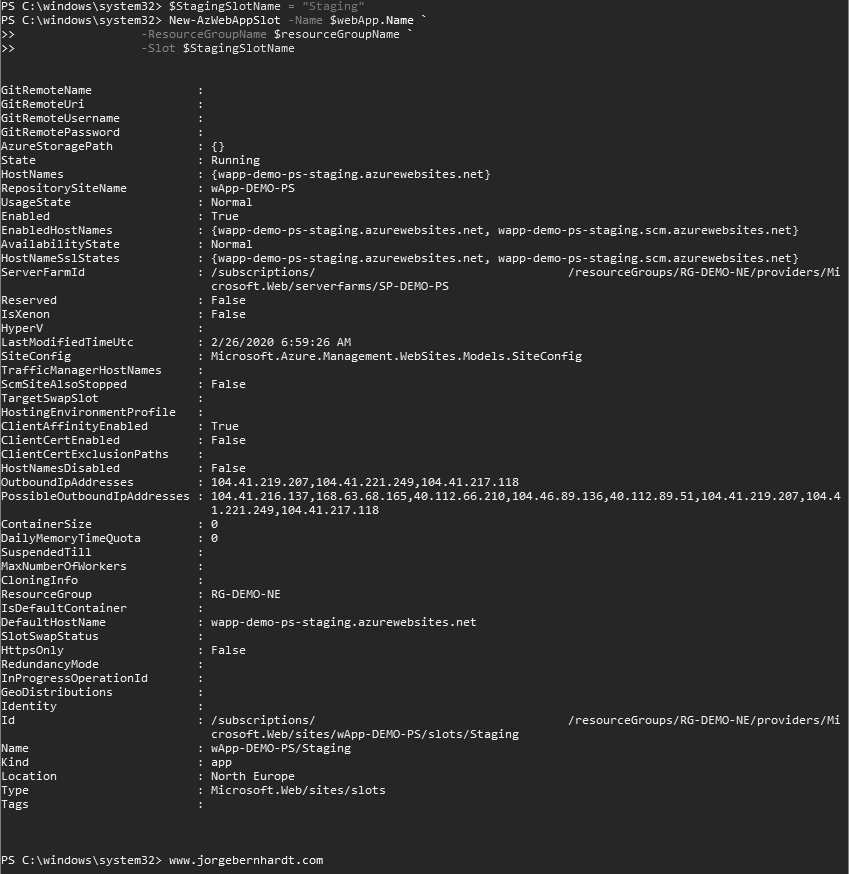
Create a deployment slot #
If you have a Standard service plan or higher, you can use deployment slots. To create a new deployment slot, you should use the New-AzWebAppSlot cmdlet as shown below.
$StagingSlotName = "Staging"
New-AzWebAppSlot `
    -Name $webApp.Name `
    -ResourceGroupName $resourceGroupName `
    -Slot $StagingSlotName
Important: All the slots that are created in the same service plan, including the “Production” slot share resources. For this reason, it is advisable to use an independent services plan in production environments.
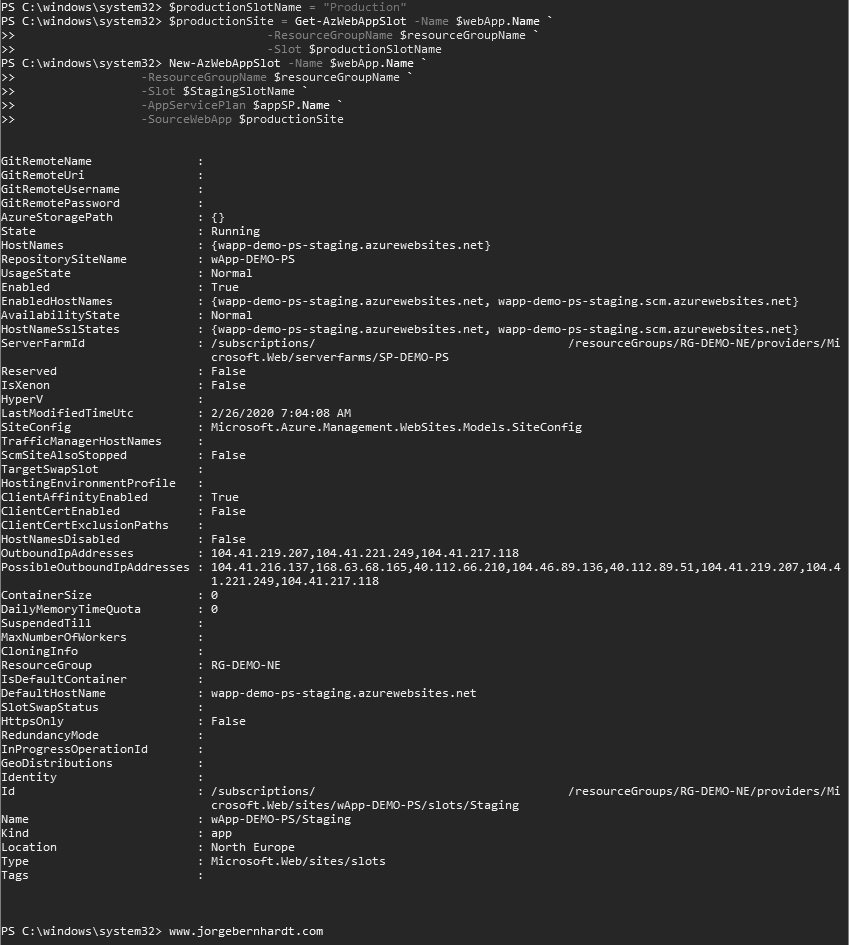
Clone an existing deployment slot #
Another way to create a new deployment slot is to clone an existing slot. In the following example, I will create a new slot using the production slot as the source.
$productionSlotName = "Production"
$productionSite = Get-AzWebAppSlot `
    -Name $webApp.Name `
    -ResourceGroupName $resourceGroupName `
    -Slot $productionSlotName

New-AzWebAppSlot `
    -Name $webApp.Name `
    -ResourceGroupName $resourceGroupName `
    -Slot $StagingSlotName `
    -AppServicePlan $appSP.Name `
    -SourceWebApp $productionSite
Swap deployment slots #
if you want to swap the contents of one slot with another. You should use the Swap-AzWebAppSlot cmdlet with the following syntax.
Swap-AzWebAppSlot `
    -Name $webApp.Name `
    -ResourceGroupName $resourceGroupName `
    -SourceSlotName $StagingSlotName `
    -DestinationSlotName $productionSlotName
Remove a deployment slot #
To remove a deployment slot, use the Remove-AzWebAppSlot cmdlet with the following syntax.
Remove-AzWebAppSlot `
    -Name $webApp.Name `
    -ResourceGroupName $resourceGroupName `
    -Slot $StagingSlotName `
    -Force
Remove a Web Application #
To remove an Azure Web App, you should use the Remove-AzWebApp cmdlet This cmdlet, by default, also removes all slots and metrics.
Remove-AzWebApp `
    -Name $webApp.Name `
    -ResourceGroupName $resourceGroupName `
    -Force
Remove an Application Service plan #
and finally, if you want to delete the service plan, you should use the Remove-AzAppServicePlan cmdlet with the following syntax.
Remove-AzAppServicePlan `
    -Name "SP-DEMO-PS" `
    -ResourceGroupName $resourceGroupName `
    -Force
Azure CLI Workaround #
In this case, we will use Azure Cloud Shell, a browser-based shell built into Azure Portal. This allows us to use the Azure command-line tools (Azure CLI and Azure PowerShell) directly from a browser. If you want to know more about Azure Cloud Shell, check out this link
resourceGroupName="RG-DEMO-NE"
location="NorthEurope"
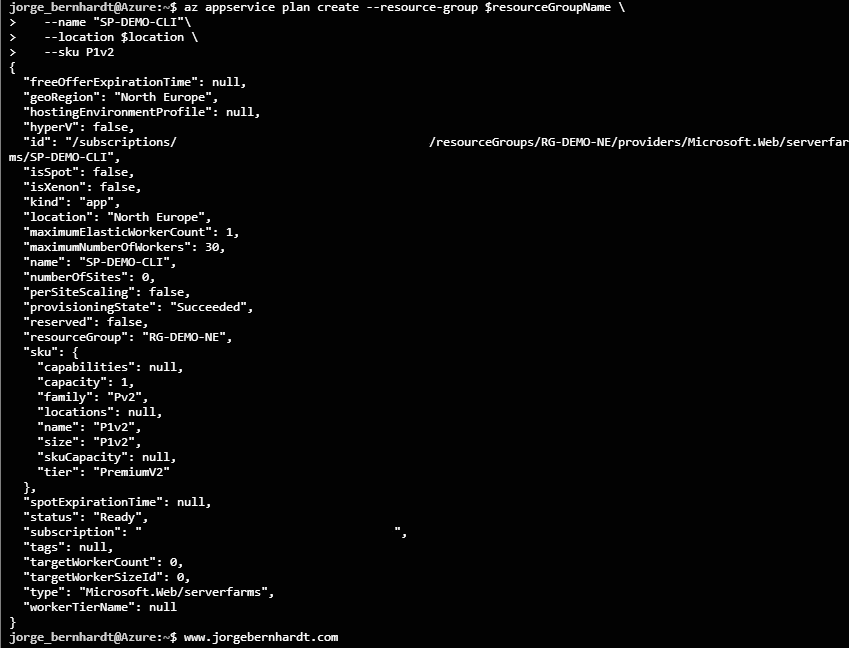
Create an Application Service Plan #
To deploy a Web app in Azure, you must first have an Apps Service. To create one, you should use the following command.
az appservice plan create \
--resource-group $resourceGroupName \
--name "SP-DEMO-CLI" \
--location $location \
--sku P1v2
The -sku parameter allows the following values: B1, B2, B3, D1, F1, FREE, I1, I2, I3, P1V2, P2V2, P3V2, PC2, PC3, PC4, S1, S2, S3, SHARED.
Create a Web Application #
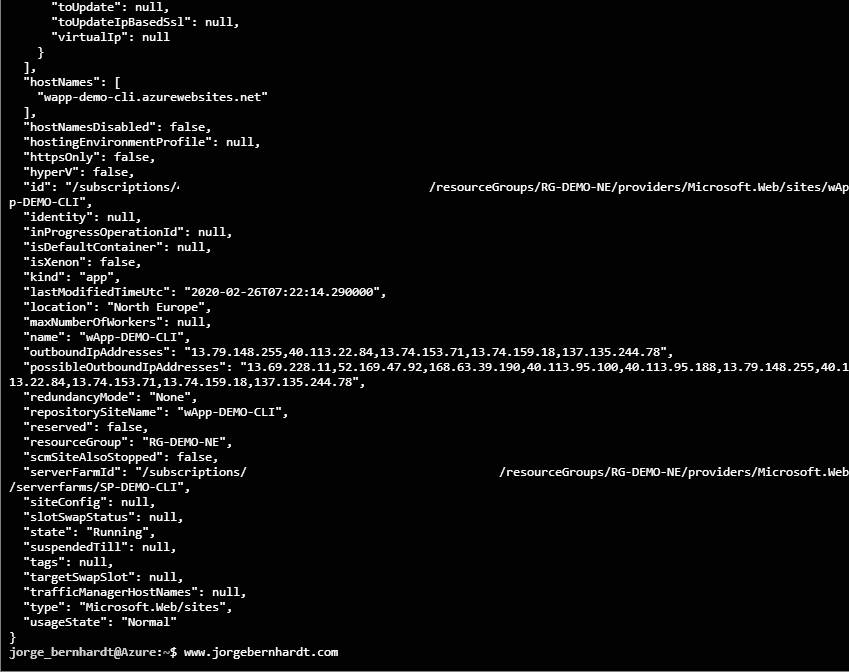
Once you have an Apps Service, you are ready to create a Web Apps, for this, you should use the following command.
az webapp create \
--name  "wApp-DEMO-CLI" \
--resource-group $resourceGroupName \
--plan "SP-DEMO-CLI"
az webapp list \
--resource-group $resourceGroupName \
--output table

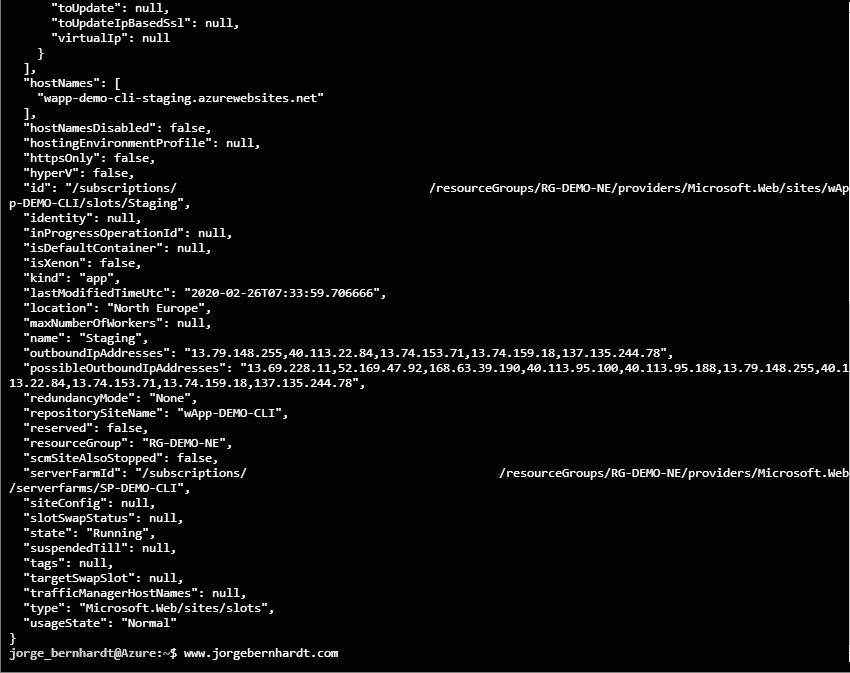
Create a deployment slot #
If you have a Standard service plan or higher, you can use deployment slots. To create a new deployment slot, you should use the following command.
az webapp deployment slot create \
--name  "wApp-DEMO-CLI" \
--resource-group $resourceGroupName \
--slot "Staging"
Important: All the slots that are created in the same service plan, including the “Production” slot share resources. For this reason, it is advisable to use an independent services plan in production environments.
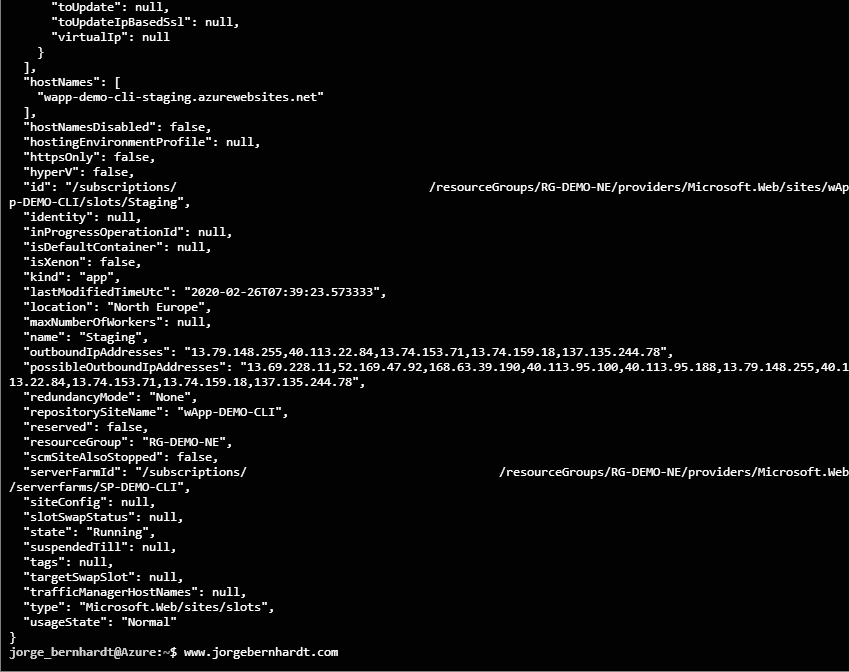
Clone an existing deployment slot #
Another way to create a new deployment slot is to clone an existing slot. In the following example, I will create a new slot using the production slot as the source.
az webapp deployment slot create \
--name "wApp-DEMO-CLI" \
--resource-group $resourceGroupName \
--slot "Staging" \
--configuration-source "wApp-DEMO-CLI"
Swap deployment slots #
If you want to swap the contents of one slot with another. You should use the following command.
az webapp deployment slot swap \
--name  "wApp-DEMO-CLI" \
--resource-group $resourceGroupName \
--slot "Staging" \
--target-slot "Production" \
--action "Swap"
Remove a deployment slot #
To remove a deployment slot, use the following command.
az webapp deployment slot delete \
--name "wApp-DEMO-CLI" \
--resource-group $resourceGroupName \
--slot "Staging"
Remove a web application #
If instead, you want to remove the Azure web application, you must use the following command.
az webapp delete \
--name "wApp-DEMO-CLI" \
--resource-group $resourceGroupName
Remove an Application Service plan #
And finally, if you want to delete the service plan, you should use the following command, this command will ask for confirmation to continue with the removal of the resource.
az appservice plan delete \
--name "SP-DEMO-CLI" \
--resource-group $resourceGroupName
