In this post, I’ll show you how to create a standard DDoS plan and associate it with an existing virtual network using PowerShell and the Azure CLI. Distributed denial of service (DDoS) attacks are becoming more and more frequent and it is one of the main security problems that customers who have their resources in the cloud must face. Currently, Azure DDoS protection has two tiers of service:
Basic:
It’s free and it is automatically enabled as part of the Azure platform.
It uses the full scale of the Azure global network to distribute and mitigate attack traffic between regions.
Provides protection for Azure IPv4 and IPv6 public IP addresses.
Standard:
The DDoS Protection service will have a fixed monthly charge, as well as a charge for data processed.
DDoS Protection is enabled at the Virtual Network level.
Real-time telemetry is available through Azure Monitor’s views during an attack and to analyze historical data.
Prerequisites
You created a Resource Group for these resources and the new ones deployed in this tutorial will join that group. If you want to know how to create a Resource Group, check out this
link.
You already created the necessary Virtual Network and subnet. If you want to know how to create a Virtual Network, check out this
link.
If you want to know how to install the PowerShell Azure module on your machine, check out this
link. The simplest way to get started is to sign in interactively at the command line.
Connect-AzAccount
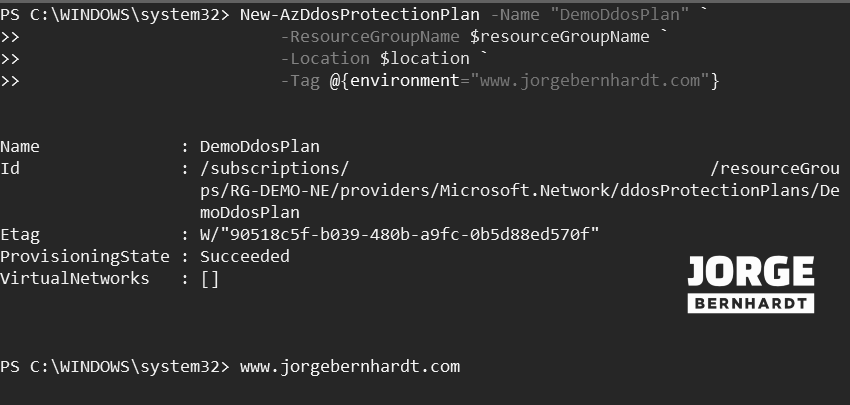
This cmdlet will bring up a dialog box prompting you for your email address and password associated with your Azure account. If you have more than one subscription associated with your mail account, you can choose the default subscription. To perform this task, we will use the following commands:
Here, we define the characteristics of our environment and the resource’s properties.
#Define the parameters for the Azure resources.$location="northeurope"$resourceGroupName="RG-DEMO-NE"#Define the existing VNet information.$vNetName="VNET-DEMO-NE"
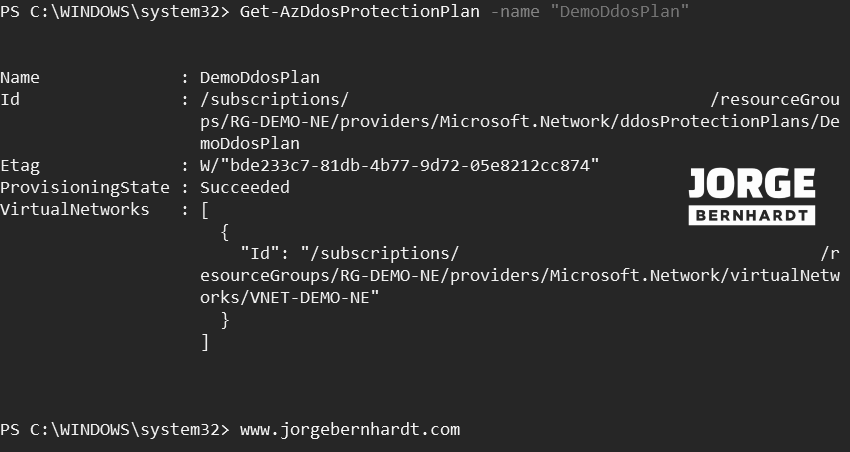
Once the DDoS protection plan is created, you must associate your virtual network with it. First, we store the objects (DDoS Protection Plan and Virtual Network) in variables, then we update the DdosProtectionPlan property with a PSResourceId object that contains a reference to the ID of our DDoS plan and we activate the DDos protection in our network and finally, using the Set-AzVirtualNetwork command, we apply the changes in our network.
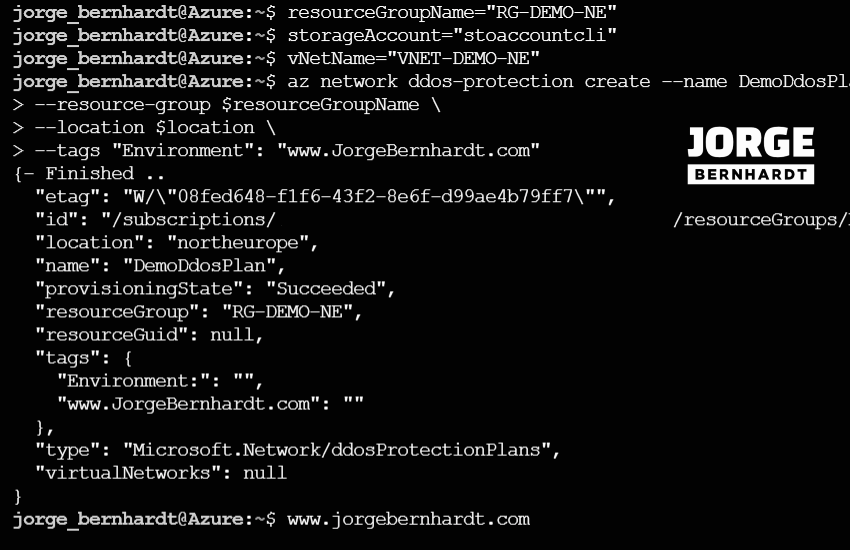
In this case, we will use Azure Cloud Shell, a browser-based shell built into Azure Portal. This allows us to use the Azure command-line tools (Azure CLI and Azure PowerShell) directly from a browser. If you want to know more about Azure Cloud Shell, check out this
link. First, we define the characteristics of our environment and store the values in variables.
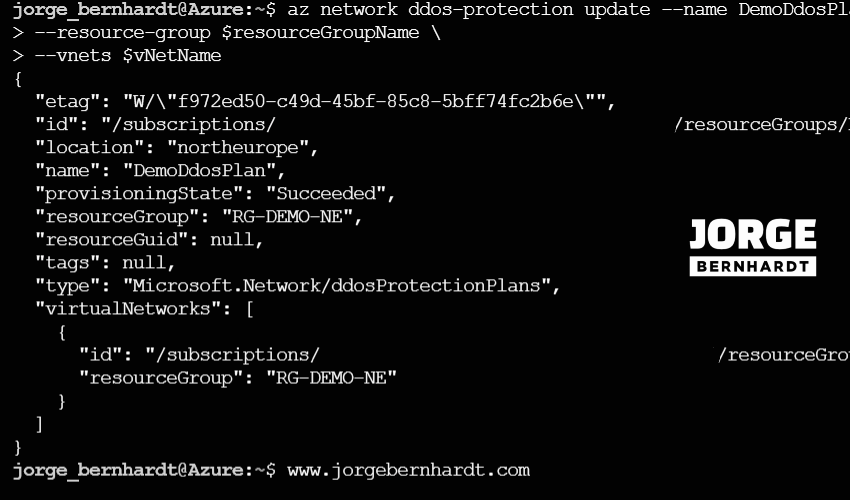
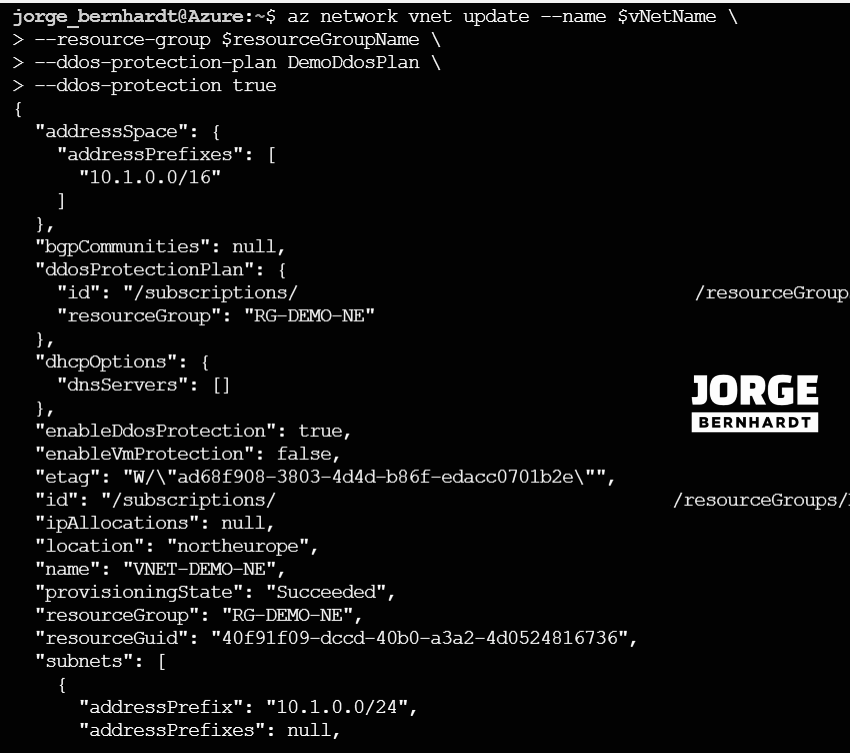
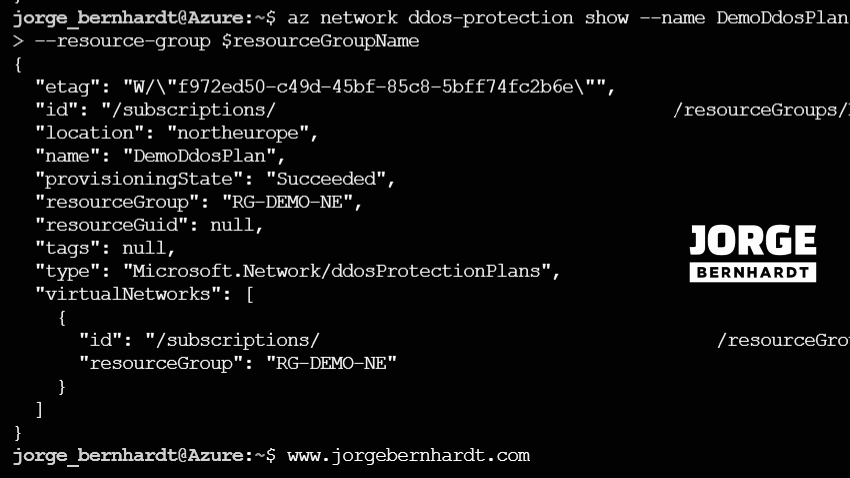
Associating a DDoS Plan using Azure CLI involves two commands, you must first associate the DDoS plan with the virtual network and then activate the DDoS protection on the virtual network. To associate the DDoS plan with your virtual network, you should use the following command.
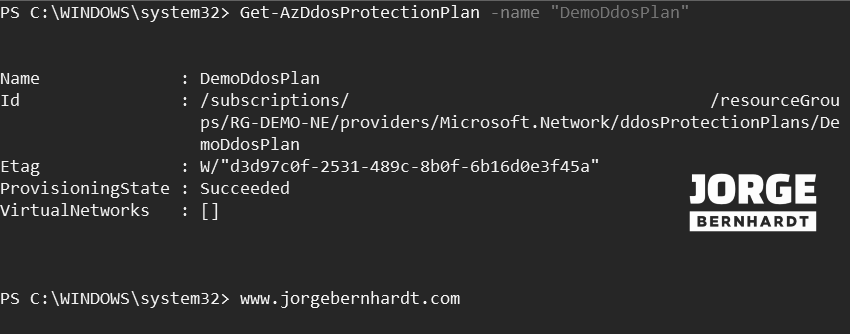
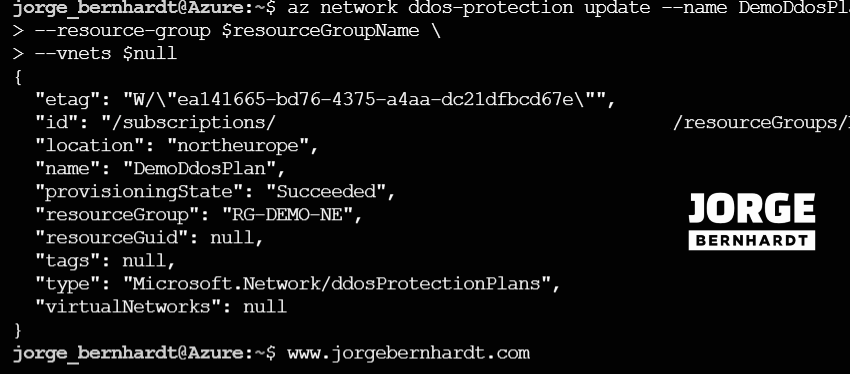
Disassociate Ddos Protection Plan to a virtual network>
Disassociate Ddos Protection Plan to a virtual network
#
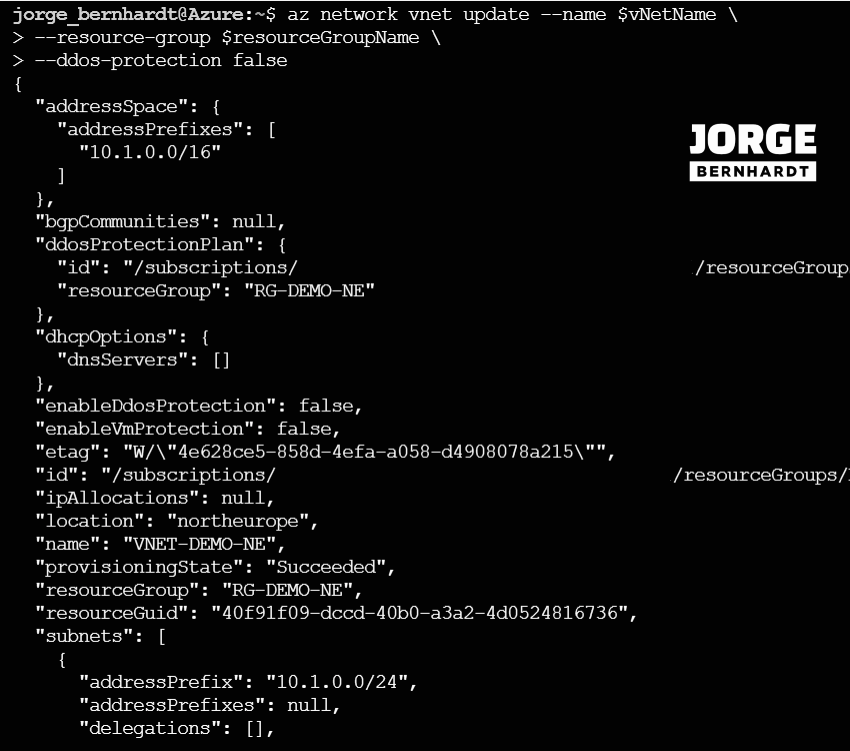
To disassociate the DDoS plan from your virtual network, you should use the following commands. First, you should disable DDoS protection on your virtual network.